Picture the phrase “cave art” and most people imagine grunting figures smearing mud on rock with their fists. That image is comforting, simple, and almost entirely wrong. Experimental archaeologists who actually tried to recreate these paintings – grinding the same minerals, lighting the same torches, using the same cramped, smoky spaces – kept running into the same uncomfortable discovery: the techniques worked too well to be accidental.
What they found instead was a toolkit of deliberate recipes, engineered surfaces, and controlled effects that some modern art students would struggle to reproduce cold. A few archaeologists have quietly admitted they underestimated these artists. Here are the 13 techniques that experiments have confirmed, one clever trick at a time.
#1 – Charcoal and Ochre Crayons That Drew Like Modern Pastels
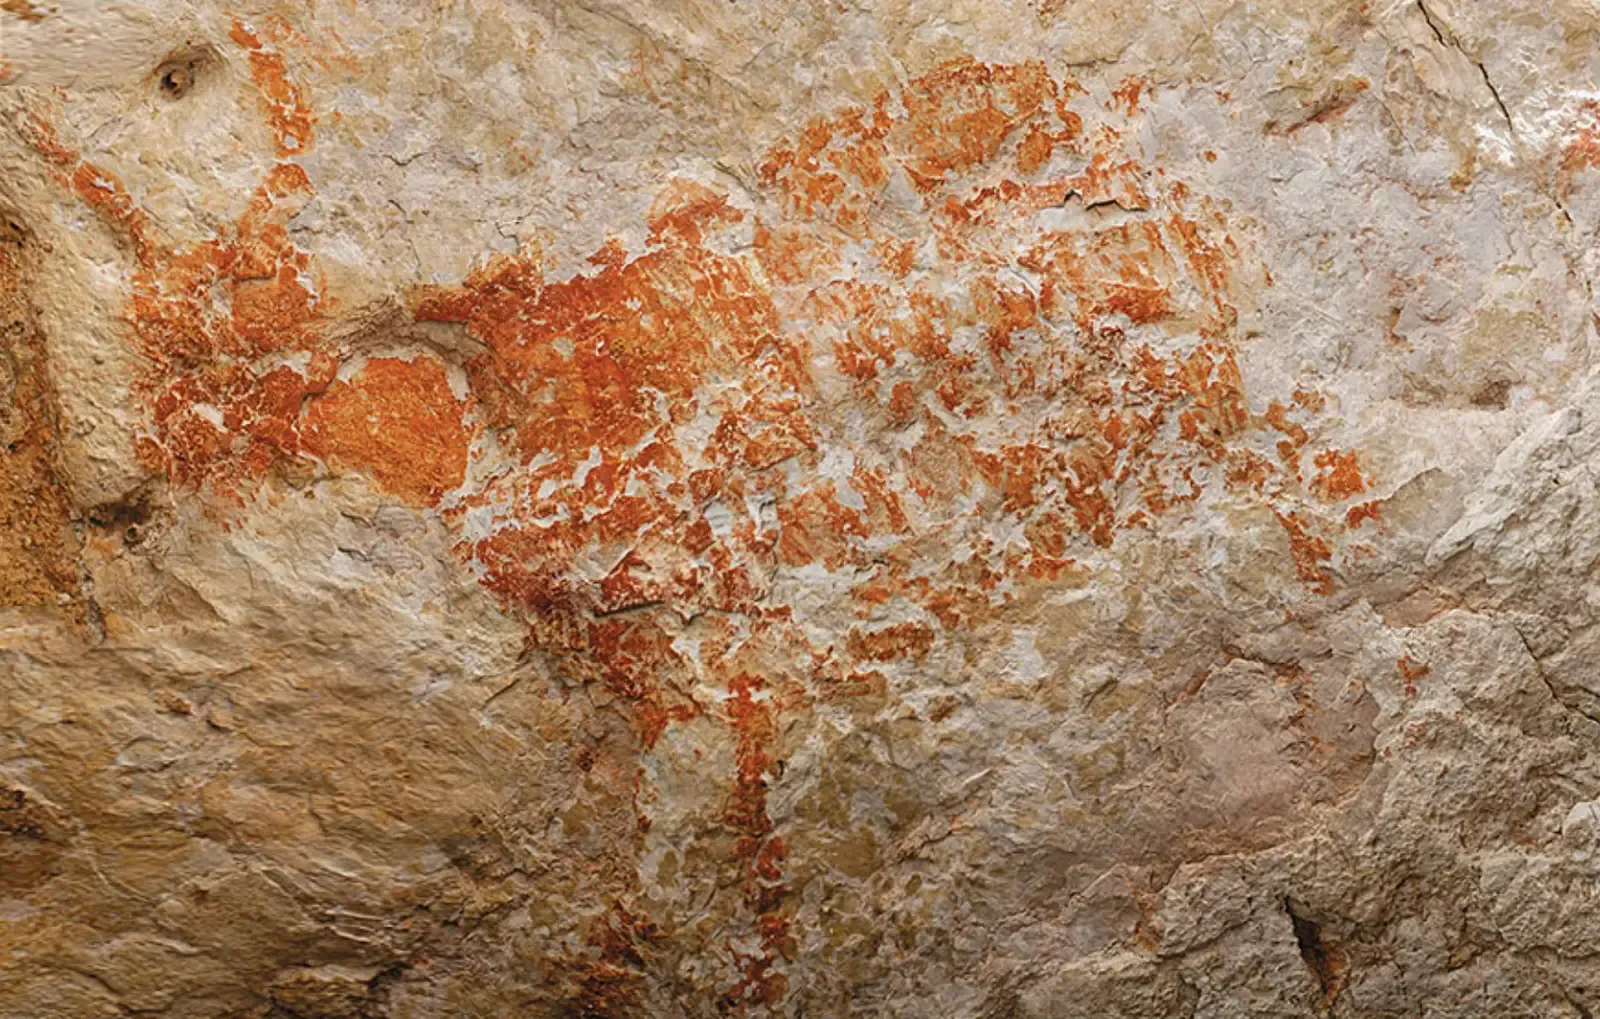
Most people assume prehistoric people just finger-painted, but experiments show they also used solid pigment sticks that behaved a lot like crayons or pastels. In caves like Chauvet and Lascaux, archaeologists have found compacted pieces of charcoal and ochre with worn, faceted edges.
When researchers shaped similar pieces by grinding raw pigment into short, dense sticks, they found they could draw controlled, precise lines on limestone walls with no modern binder at all. The rock’s natural moisture and micro-roughness helped the pigment stick surprisingly well.
Experimental teams also discovered that slightly heating ochre before compacting it makes it much richer and smoother, likely mirroring what ancient people saw when red earth sat near hearths. Some labs mixed a few drops of water, animal fat, or plant gum to make “greasier” sticks. These left darker, more saturated marks and could even be smudged for shading – basically a Paleolithic oil pastel.
- Charcoal sticks produced deep blacks ideal for outlines.
- Ochre sticks handled like soft red or brown chalk.
The kicker? Wear patterns on prehistoric pigment nodules match the experimental tools almost perfectly – down to the same faceted edges from the same dragging motion.
#2 – Spray Painting with Hollow Bones and Mouth Blowing
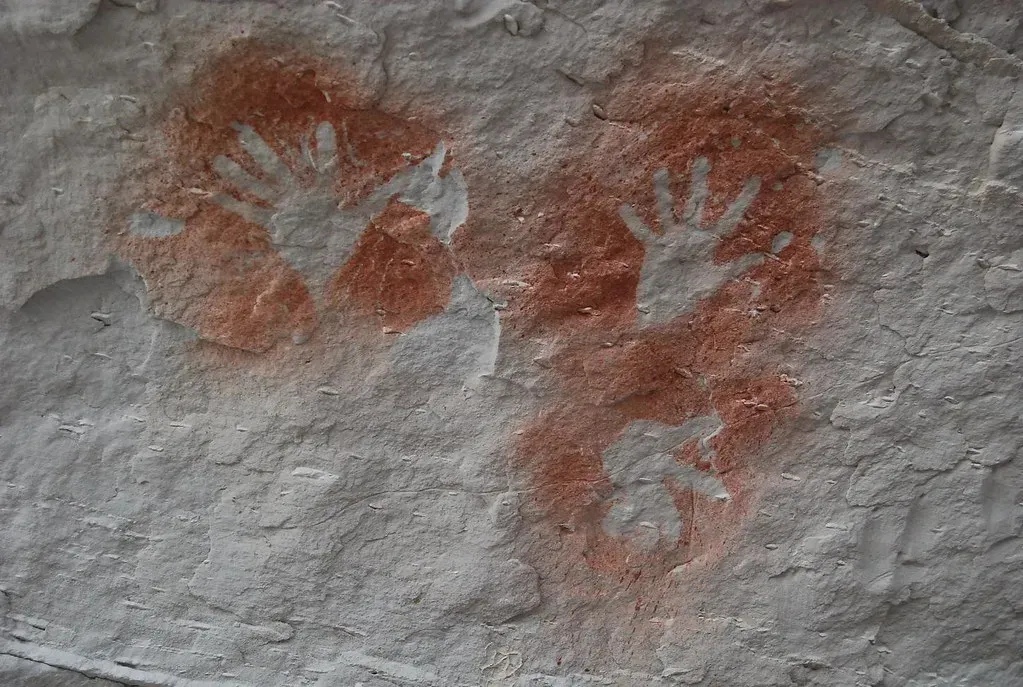
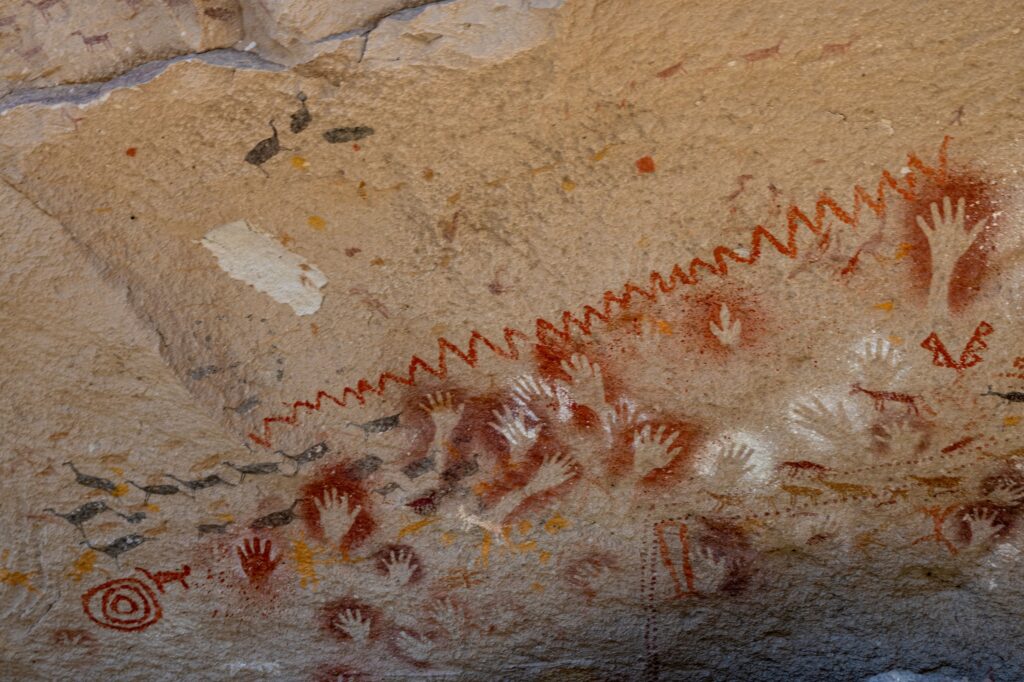
If you thought spray paint was a 20th-century invention, think again. To understand those eerie hand stencils in caves, researchers tried recreating them with nothing but pigment and breath.
The basic setup is simple: grind ochre into a fine powder, mix it with water and sometimes fat, then either blow it directly from the mouth or through a hollow bone tube against a hand pressed to the wall. During experiments, archaeologists and artists found they could generate soft, even “airbrushed” halos around their hands in a single exhalation.
Microscopic analysis of ancient wall surfaces backed this up. In several caves, pigment around hand stencils appears as tiny, discrete droplets, just like you’d expect from a spray rather than a brushstroke, and experimental sprays on replica limestone panels produced the same droplet patterns and the same characteristic fading at the edges.
There’s debate, though. Some researchers argue mouth-spraying without a tube could cause pigment inhalation problems long-term, while others point out that hollow bird bones and small mammal bones make surprisingly effective and safe spray nozzles. A few experiments even showed you can control shading by adjusting distance and breath strength – primitive “airbrush control,” essentially.
Fast Facts
- Ochre is a naturally occurring iron-oxide pigment that shifts from yellow to deep red depending on its iron content.
- Hollow bird and small mammal bones worked as effective spray nozzles in experimental reconstructions.
- Pigment droplet patterns from mouth-spraying tests match microscopic traces found around ancient hand stencils.
- Distance and breath strength let modern experimenters control shading, mimicking a primitive airbrush.
#3 – Finger Lines and “Digital” Shading on Soft Cave Walls
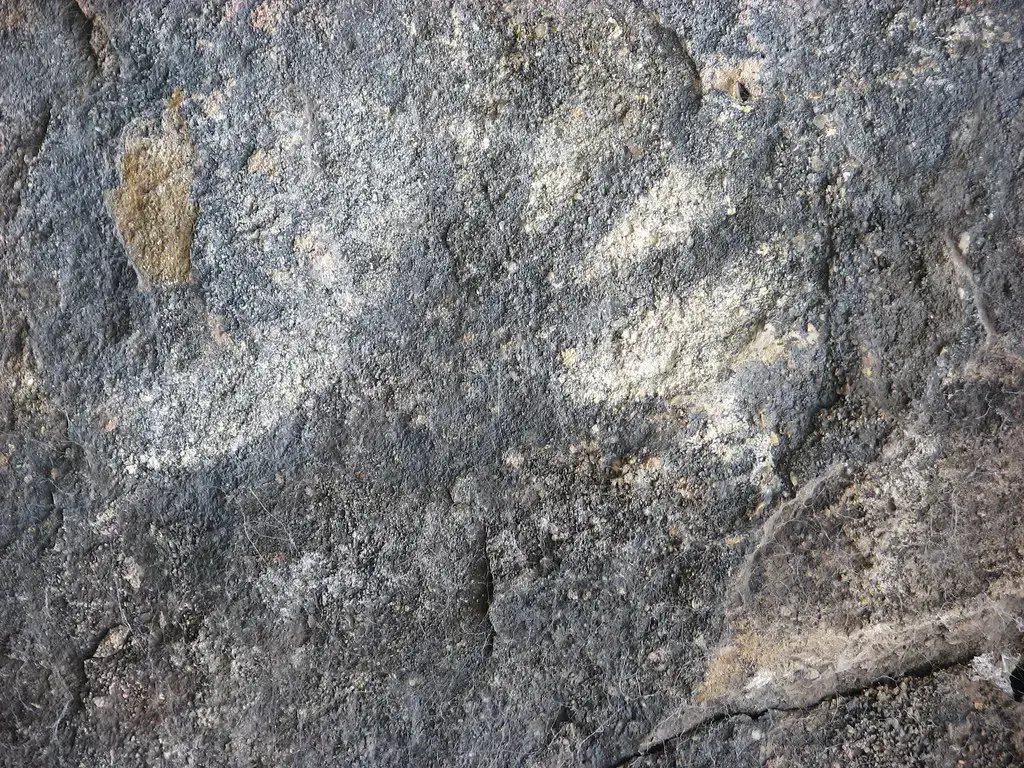
At first sight, those parallel grooves on cave walls look like casual scratches. Reproducing them showed they’re anything but casual.
Many prehistoric murals were painted on relatively soft limestone or clay-enriched surfaces. Experimental archaeologists pressed their fingertips, knuckles, and whole hands into damp clay and fine sediment to mimic the prehistoric traces, and discovered that controlled finger dragging can produce remarkably uniform bands, spirals, and even cross-hatching.
On clay-rich walls, dampening the surface slightly and then passing fingers through pigment already on the wall created a kind of “subtractive painting.” Instead of adding more color, the artist removed it to reveal lighter tones underneath, effectively using fingers as erasers and blending tools. In some tests, artists could model the curve of an animal’s body just with graded finger pressure, pushing more pigment into hollows and thinning it on raised parts.
A few cave panels also show overlapping finger marks, where darker pigment was added and then pulled through, layer by layer. Replicating this suggests prehistoric artists understood how to build depth by layering pigment and blending with fingers for soft transitions – confident mark-making on a surface that behaves like a giant wet tablet.
#4 – Animal Fat and Binder Experiments: The First “Paint Recipes”
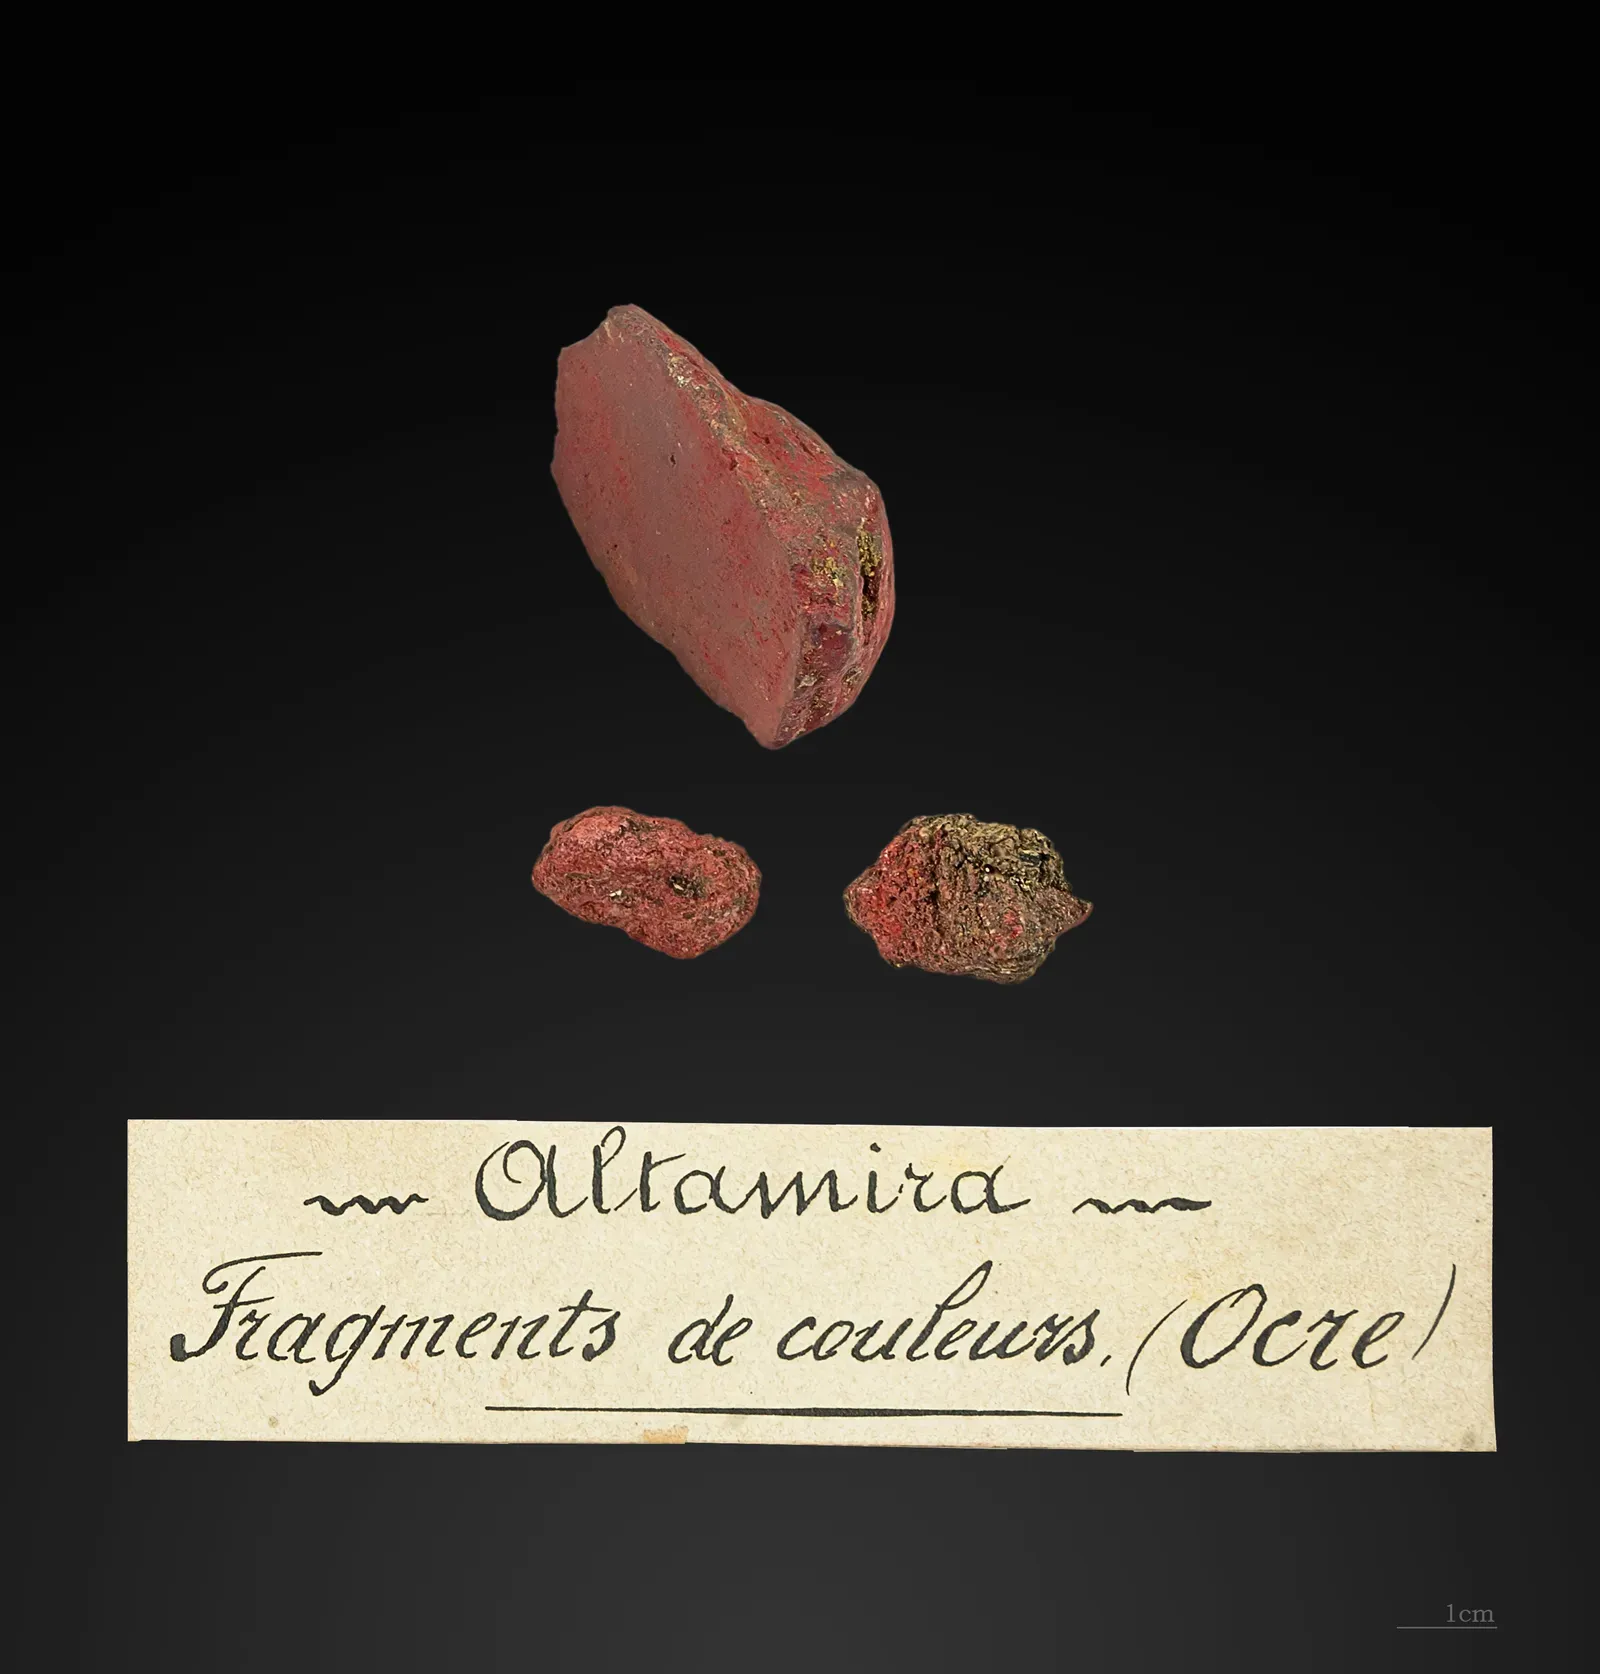
Most people imagine prehistoric paint as dry dust rubbed on rock. But experiments show many pigments were true paints, made with deliberate recipes using binders like animal fat, marrow, or plant gum.
In controlled tests, researchers mixed ground ochre with different liquids – water, blood, egg, tallow, bone marrow, plant resins – then painted on stone, bone, and leather, monitoring color intensity, drying time, and resistance to rubbing and moisture. Mixtures with animal fat or marrow typically produced rich, creamy paints that adhered better and lasted longer than simple water-based pastes.
Some combinations, such as ochre plus heated marrow, gave a slight glossy sheen that closely resembles preserved prehistoric red coatings on artifacts and walls. Analytical chemistry on some archaeological samples has found traces consistent with organic binders, though preservation is patchy and not all claims are universally accepted.
This leads to a slightly controversial idea: some researchers argue that at least part of pigment use may have had practical, even protective functions, like waterproofing hides or sealing porous stone, with color as an added layer of meaning. Others see it as purely symbolic. Either way, the technical skill in those “recipes” is clear.
#5 – Engraving and Painting Together: 3D Effects in Flickering Light
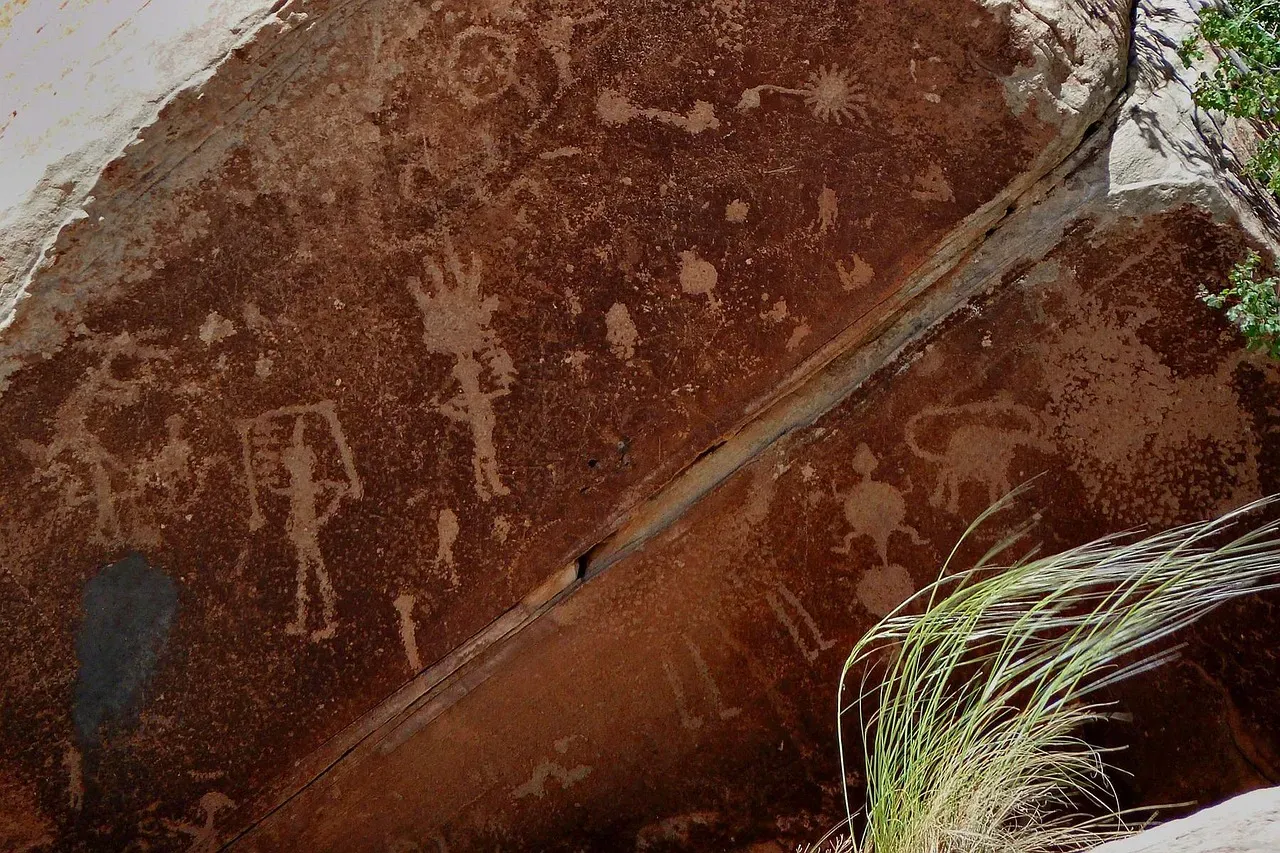
Many people see engravings and paintings as separate traditions, but experiments suggest prehistoric artists often used them together to hack the cave’s lighting. On many cave walls, animals are first lightly engraved and then painted over or beside the carved lines.
When modern teams recreated this, they scratched animal outlines into soft limestone, then added black charcoal or red ochre along or just inside the grooves. Under electric light, it’s interesting but not spectacular. Under replicated firelight – torches or fat lamps – the effect changes dramatically.
The carved lines catch tiny shadows, while the pigment absorbs light. As the flame flickers, the engraved-and-painted figure appears to shimmer and move, especially where the artist used the natural bulge of the rock to represent a shoulder, flank, or ribcage. Some experiments intentionally chose uneven rock and found that a slight protrusion where the head or chest sits makes the animal look almost animated.
This has led some researchers to argue that these works were designed for movement and low light, not for the flat, uniform lighting of a museum photograph. A few scholars think the “animation” argument goes too far, but even critics admit that carved-and-painted combinations respond to firelight in a uniquely dynamic way. In other words, these were multimedia installations, not static pictures.
#6 – Portable Art: Pebble and Plaque Painting Reconstructions
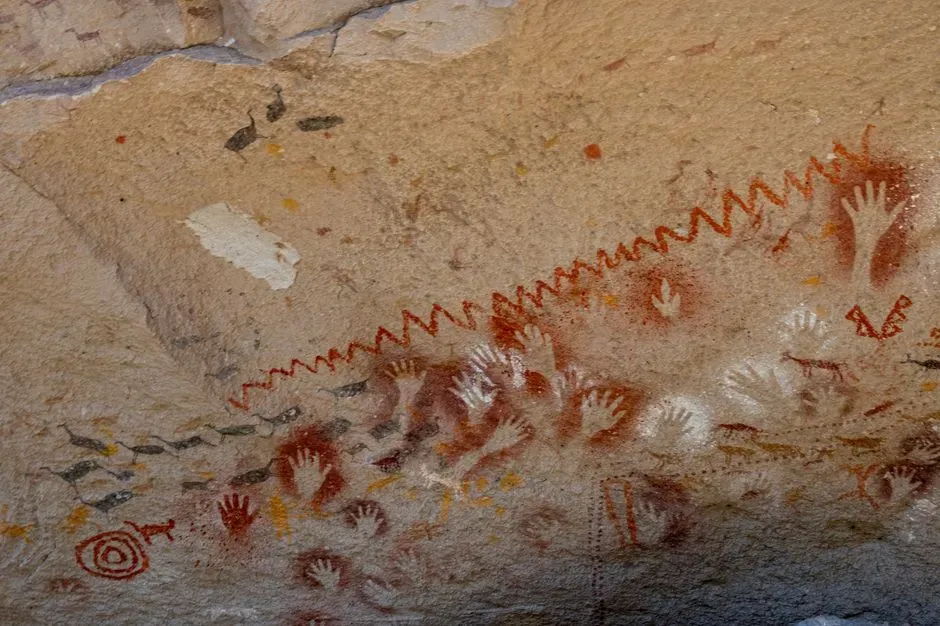
Cave walls get all the attention, but experimental work on portable objects – pebbles, plaques, pieces of bone – reveals a different set of painting techniques that were easier to test and refine. Archaeologists have found small stones and flat plaques with traces of red, black, and sometimes yellow pigment.
To understand how these were made, experimenters collected similar raw materials, smoothed some surfaces with abrasion, and left others rough. They then painted with ground pigment plus water, pigment plus animal fat, and dry pigment rubbed directly.
Results showed that smooth, polished surfaces allowed very fine-line work with brushes made from chewed twigs, animal hair, and even feather tips. On rougher stones, artists had to use thicker lines and dots, but fat-based paint still clung well. Some experimental plaques survived handling, washing, and even short-term outdoor exposure in ways that mirror the worn originals.
What’s especially striking is that on small objects, painters could test more experimental designs – dense geometric patterns, tight spirals, stacked animals – because they weren’t limited by awkward cave surfaces. Reproductions suggest that portable art might have been a kind of lab where techniques and styles were refined before large-scale cave imagery ever happened.
Quick Compare
- Cave walls: large scale, fixed surface, harder to test new ideas quickly.
- Portable pebbles and plaques: small scale, easy to experiment with brushes, pigments, and patterns.
- Smooth stone surfaces: allowed fine-line work with twig or feather-tip brushes.
- Rough stone surfaces: favored thicker lines and dots using fat-based paint.
#7 – Layering, Overpainting, and the Discovery of Prehistoric “Palimpsests”
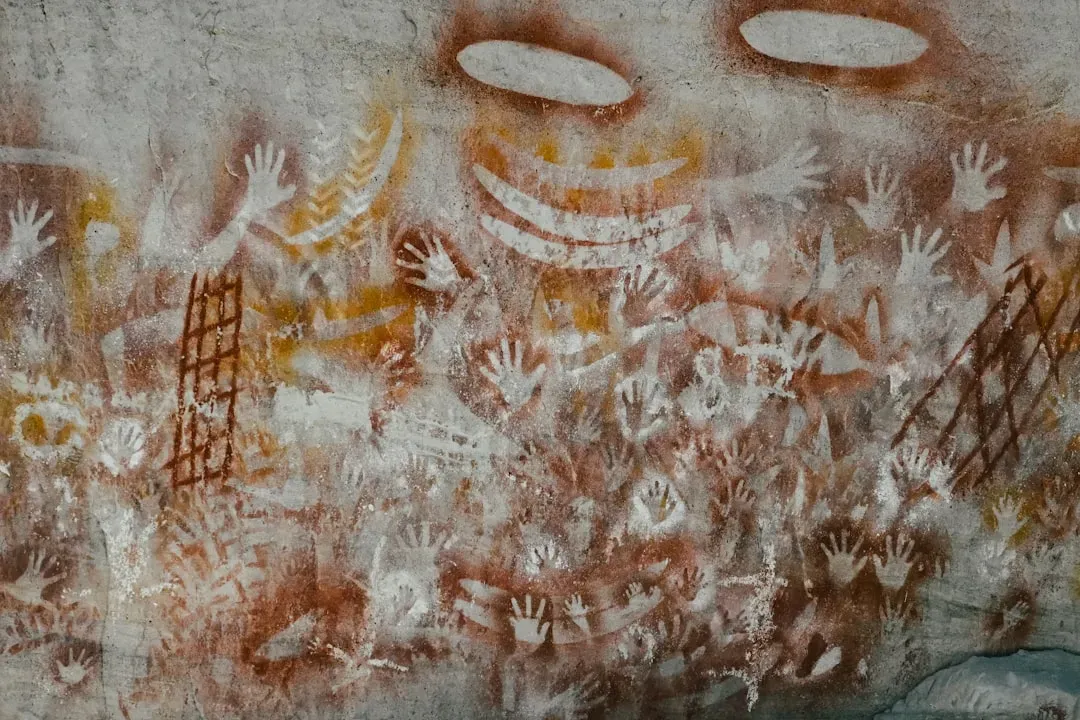
Most people think of cave murals as single, finished scenes. But re-creating their techniques shows that many walls functioned more like ongoing, layered projects – with new generations literally painting over old ones.
High-resolution recording has revealed overlapping figures: bison on top of horses, new outlines crossing old ones, changes in style from one layer to the next. To test how this buildup might have worked, experimental teams painted multiple layers of animals using different pigments and binders, letting each layer age artificially through controlled heating, moisture, and abrasion.
They found that certain pigments, especially manganese black and darker ochres, stay dominant even when newer, paler figures are added on top. Others recede, becoming faint ghosts beneath later layers, visible again under raking light or infrared imaging, just like in real caves.
By copying this process, researchers realized that layering wasn’t always accidental or due to space shortages. Sometimes later painters seemed to align their images deliberately, placing new heads where old bodies were, or reusing earlier contours as part of new figures. This suggests a kind of visual conversation across time, closer to graffiti culture than to a single “master artist” model.
#8 – Rock Surface Preparation: Scraping, Burnishing, and “Priming”
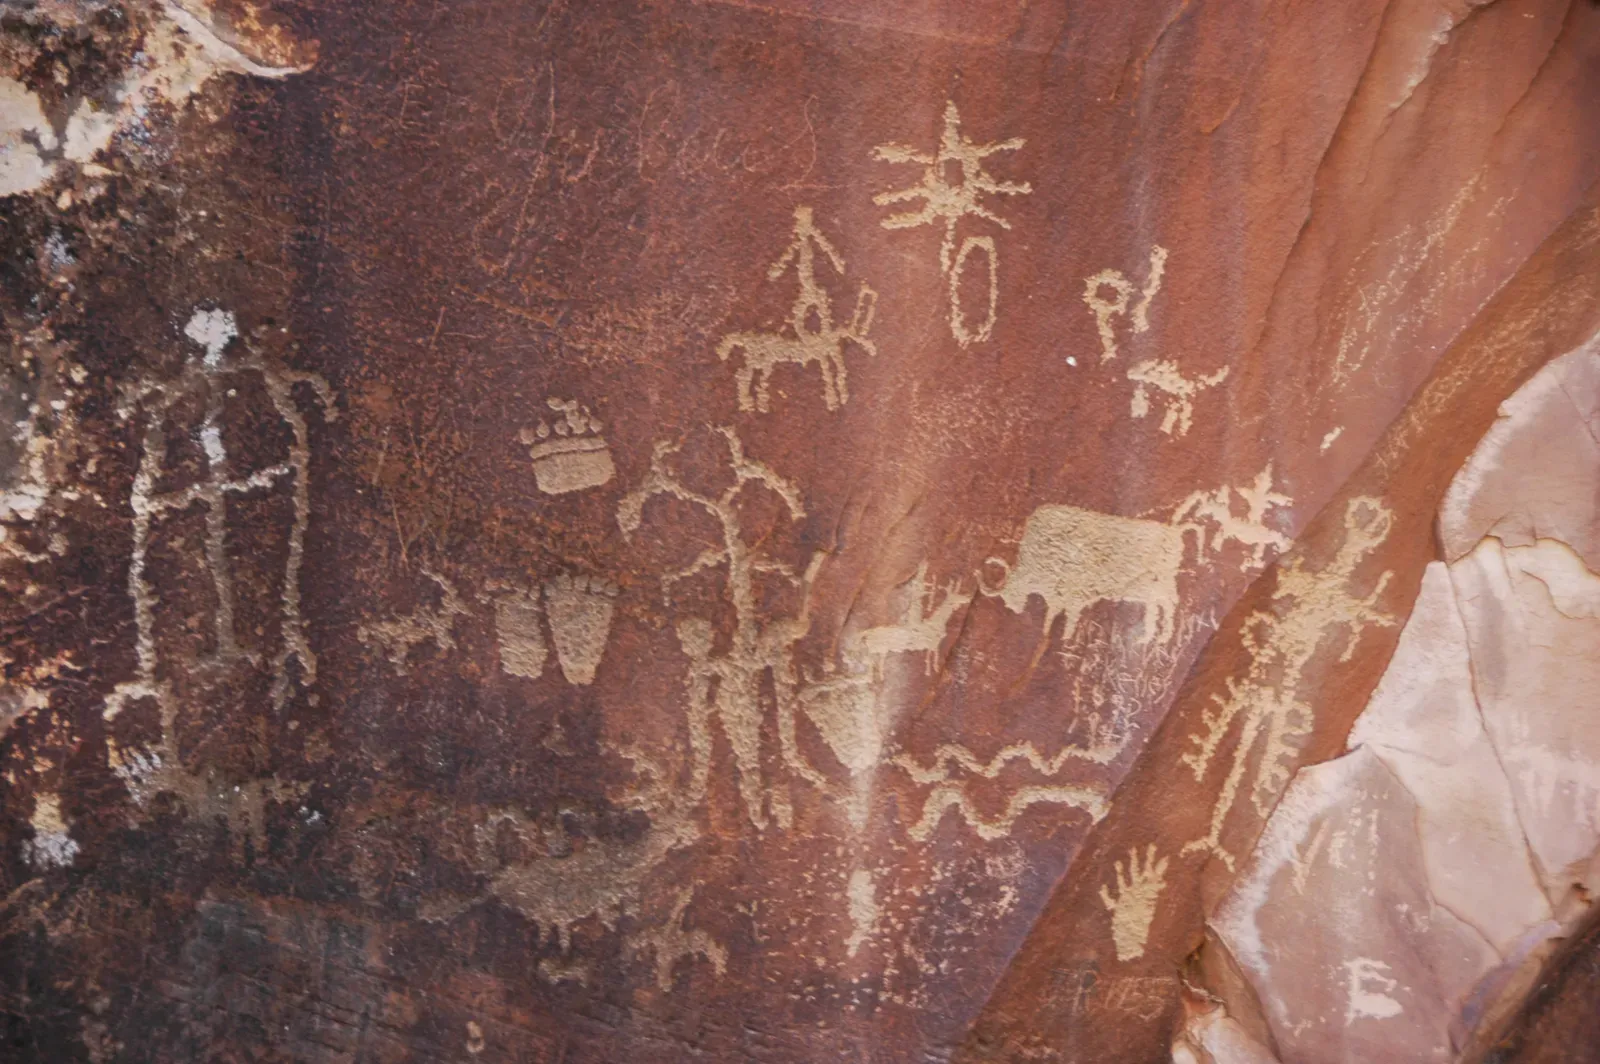
People rarely think of wall prep as part of painting, but experiments show prehistoric artists often modified rock surfaces before applying pigment, effectively creating a stone-age version of gesso. In several caves, light-colored “windows” appear where darker surface crusts were removed.
Experimental archaeologists replicated this by scraping away manganese-rich patina or soot with stone tools, exposing a paler limestone beneath. The contrast is dramatic: pigment on the freshly exposed rock looks much brighter and more saturated than on untouched surfaces.
Other tests involved polishing areas with smooth stones or animal bone. On burnished spots, thin washes of pigment spread more evenly and could be pushed into subtle gradients, while rougher zones soaked up paint quickly, making strong, matte patches. By alternating prepped and unprepped sections, experimenters could mimic the actual visual rhythm of some cave panels – bright “frames” of scraped rock surrounding darker, untouched surroundings.
Microscopic study of real cave surfaces often finds parallel scrape marks and abrasion consistent with deliberate smoothing. Combined with experimental results, this supports the idea that prehistoric artists didn’t just accept the wall as-is. They engineered their canvas, selectively creating luminous patches or smoothing areas where detail work mattered.
#9 – Controlled Fire and Lighting: Painting by Torch, Lamp, and Glowing Coals
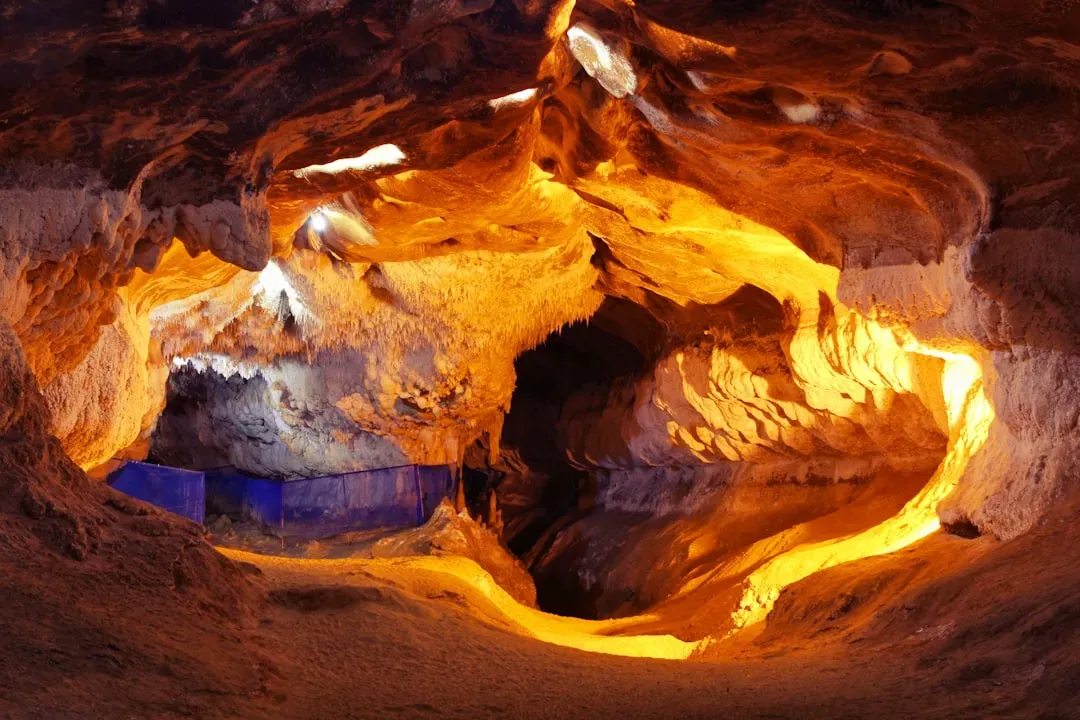
You can’t talk about cave painting without talking about light. Experimental work has shown that the way caves were lit shaped the entire painting process.
Modern reconstructions tested three main light sources: handheld torches made of resinous wood or bark, stone lamps fueled by animal fat, and glowing embers carried in portable baskets. Torches provide strong light but flicker and smoke, so painters using them often had to work quickly and in teams – one to hold the light, one to paint. Fat lamps burn steadier and longer but create small, localized pools of light, meaning the artist saw only part of the panel clearly at any given time.
These conditions had direct consequences. In experiments, artists tended to simplify outlines in hard-to-reach or dimly lit spots, emphasize bold silhouettes that read well in low light, and use rock relief to catch light and shadow for extra depth.
No one was painting these masterpieces by daylight.
Common conclusion among experimental cave-art researchers
Some controversial studies have argued that the placement of paintings lines up with where firelight works best, supporting the idea that the space, the art, and the lighting formed an integrated system. Others caution that more rigorous testing is needed – but even skeptics accept that the techniques that worked under flickering flame were selected and refined through real, messy practice.
#10 – Dots, Stippling, and Patterned Application with Pads and Brushes
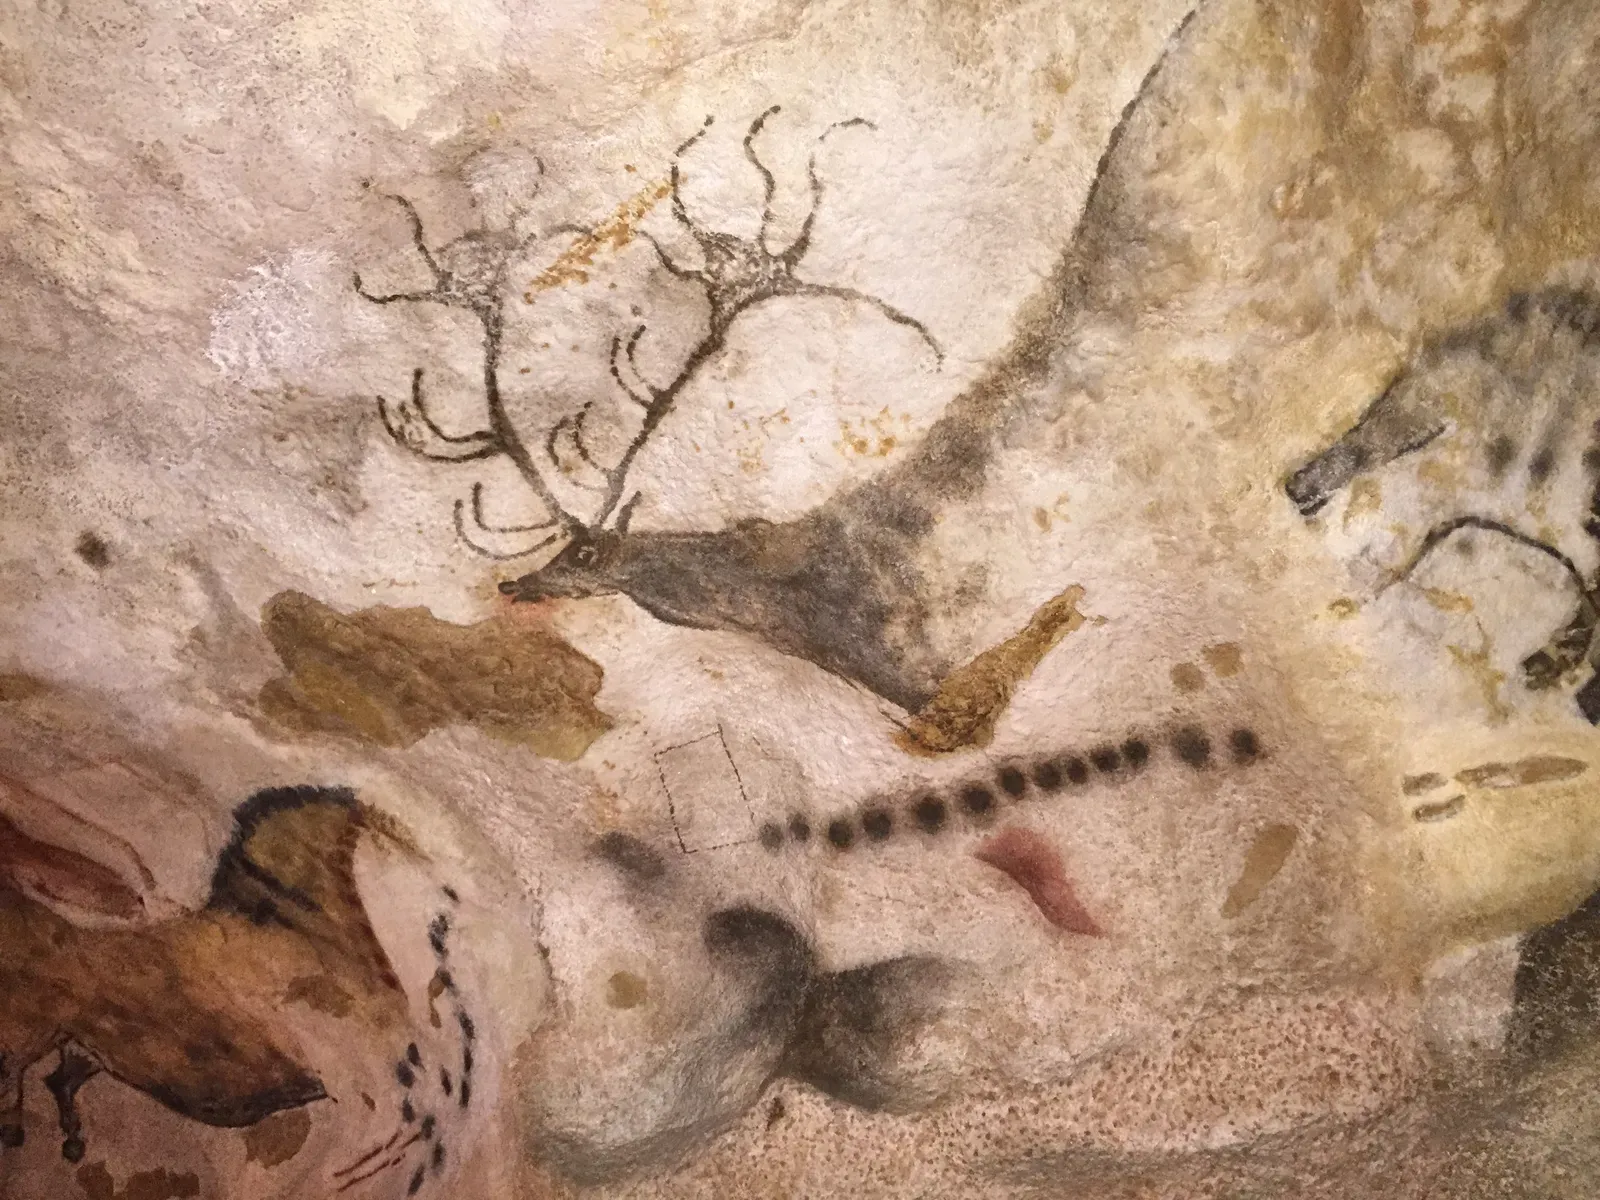
Not all prehistoric marks are lines or silhouettes. A surprising number are dots, clusters, and stippled areas, and experiments have shown how they were made.
To recreate them, researchers tried pressing fingertips dipped in pigment, using pads made of moss, hair, or leather, and dabbing with chewed wooden sticks or feather tips. Finger dots created larger, less precise spots, often with partial prints visible. Pads, on the other hand, could produce dense, even dot fields that built up into shaded areas or animal coats.
When experimenters used small pads and varied pressure, they achieved a textured, almost fur-like effect remarkably similar to some spotted horses and mammoths in cave art. Brushes made from animal hair tied to sticks allowed for rapid series of tiny strokes or dots, but they required more maintenance and careful preparation.
Interestingly, some dot clusters line up along engraved lines or rock fractures, suggesting a methodical approach rather than random decoration. Stippling might have been a way to “soften” outlines or mark significant zones on an animal’s body – much like modern tattoo shading. It’s one of the clearest cases where small, repetitive gestures add up to a powerful effect.
Worth Knowing
- Pads made from moss, hair, or leather produced denser, more even dot fields than bare fingertips.
- Varying pressure with small pads created fur-like textures similar to spotted horses in real cave art.
- Some dot clusters align with engraved lines or natural rock fractures, suggesting planned placement.
- Animal-hair brushes allowed rapid, repeated tiny strokes but needed more upkeep than pads or fingers.
#11 – Using Natural Rock Relief as Built-In Perspective
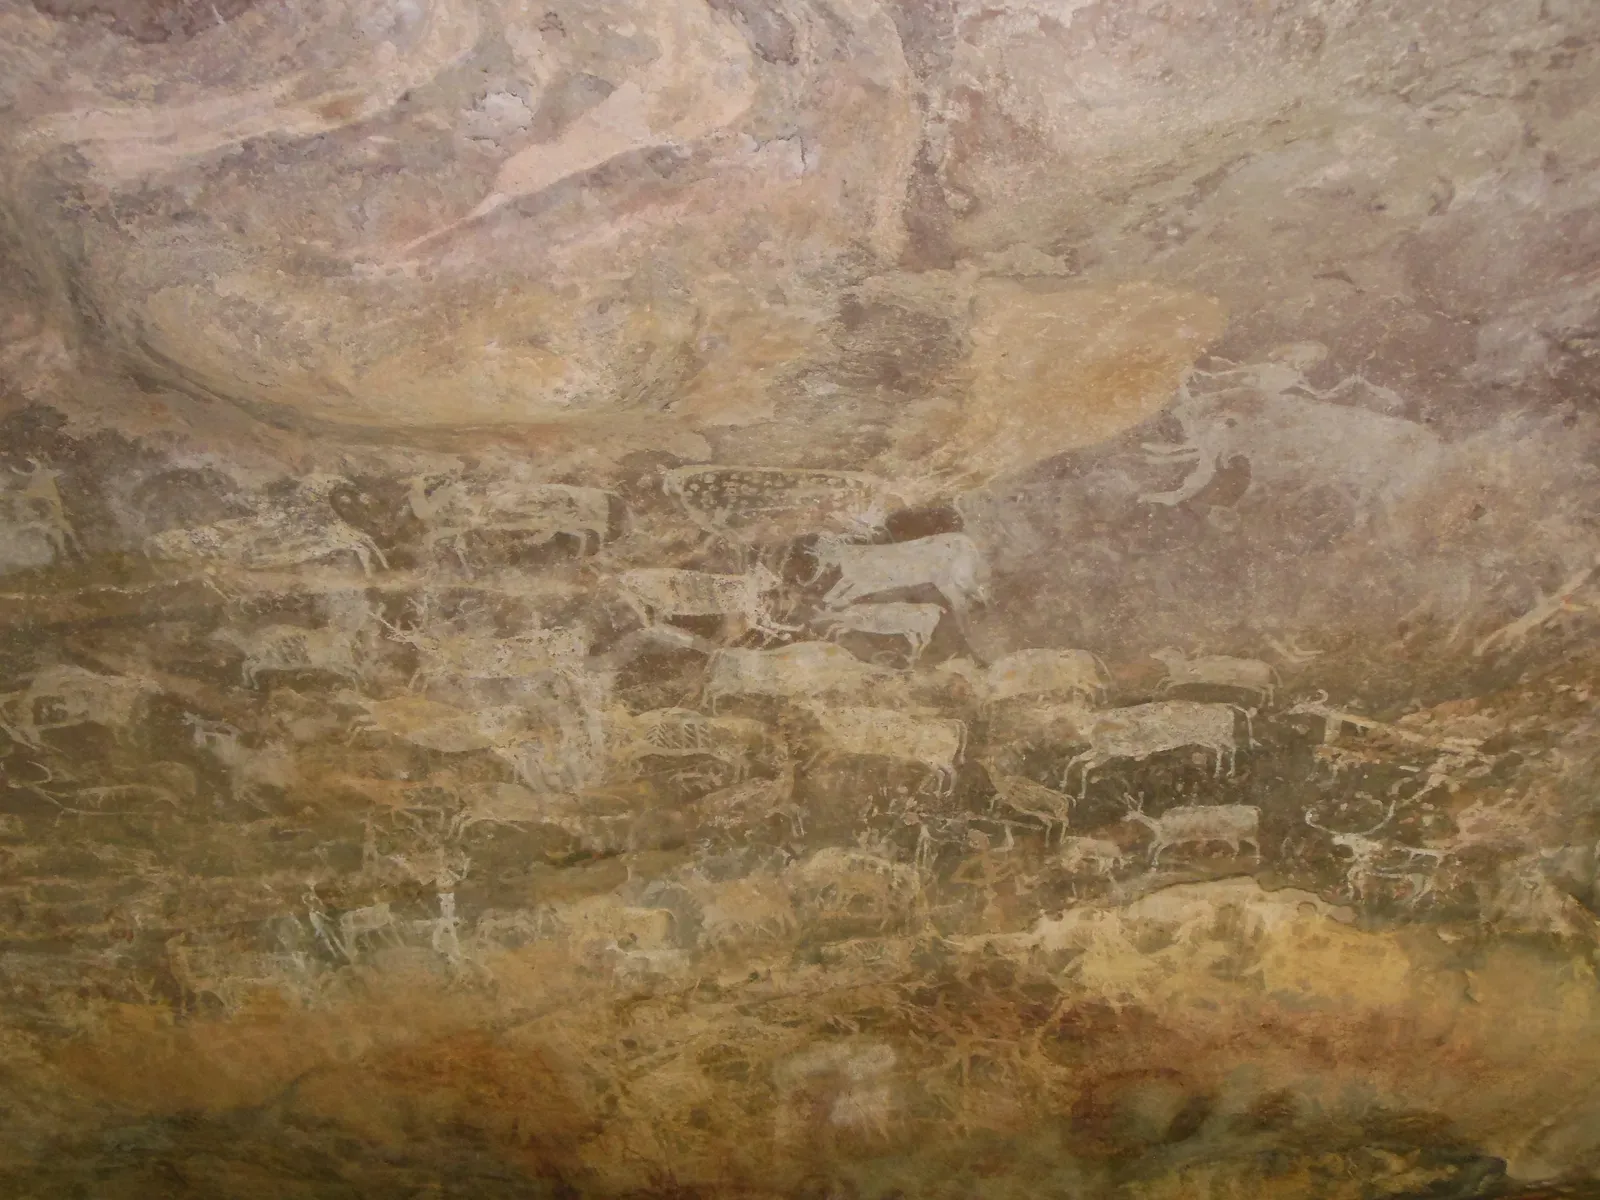
One of the most striking experimental insights is how deliberately prehistoric artists used the rock itself as part of the image. This goes way beyond “painting on a bumpy wall.”
Teams working in replica caves selected surfaces with bulges, cracks, and depressions, then tried placing animals in different orientations. They quickly realized what many Ice Age painters had apparently known: if you put the animal’s shoulder or flank over a natural bump, then wrap the painted contour around it, you get a strong sense of three-dimensional volume – especially in raking firelight.
This “relief painting” trick appears in famous sites, where bison and horses align with swellings that read as muscles, fissures that become manes, horns, or backs, and hollows that suggest bellies or open mouths. When experimenters ignored the rock relief and painted flat shapes across features, the animals looked flattened and awkward. When they worked with the contours, the same basic shapes suddenly felt lifelike.
That’s not something you stumble into by accident more than once; it implies a learned habit of reading the rock before painting. Some scholars push this further, arguing for intentional “animated” sequences where an animal’s motion is suggested by multiple outlines exploiting different parts of the relief. Others say this might be modern over-interpretation – but experimental painting keeps showing the same thing: those surfaces were chosen, not random.
#12 – Paint Production Sites: Grinding, Heating, and Transporting Pigment
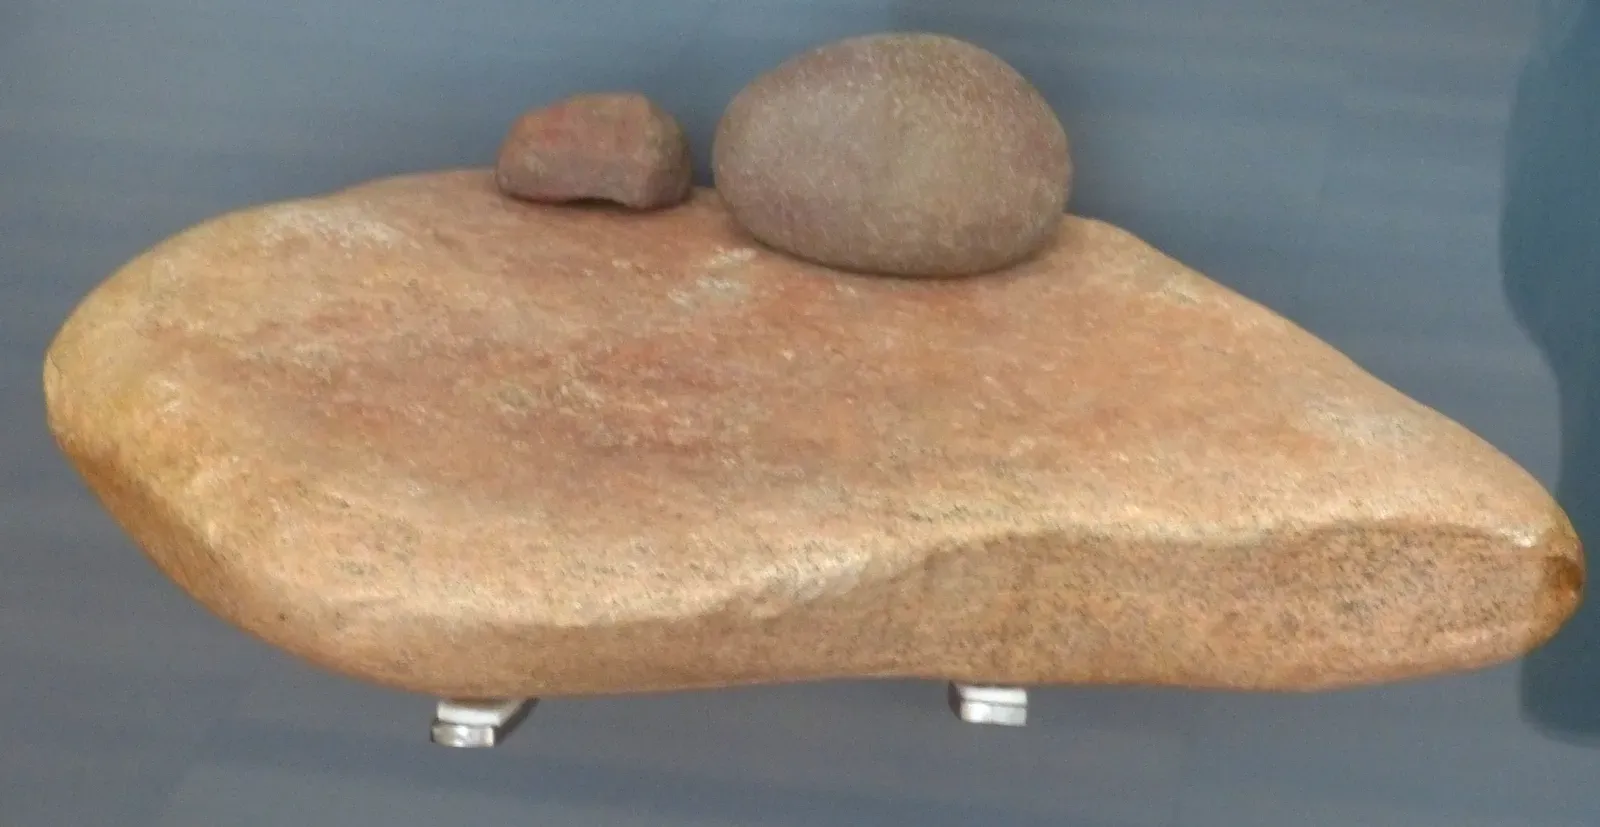
If the paintings are the performance, pigment workshops are the backstage – and experiments have made them much easier to recognize. In many prehistoric sites, archaeologists find grindstones stained red, yellow, or black, broken lumps of ochre with ground facets, and scattered pigment residues on floors.
Experimental teams recreated pigment-making by crushing ochre with hammerstones, then grinding it on flat slabs. They noticed that repeated grinding leaves distinctive wear patterns and micro-grooves, plus a fine, far-traveling dust that settles in a ring around the grinder. When ancient grindstones were examined under magnification, some showed nearly identical textures and residue distributions.
Heating experiments also proved illuminating. When raw ochre is heated to certain temperatures, its color can shift from yellowish to deep red, or its hardness changes, making it easier to powder. Researchers heated ochre in hearths at different depths and durations, then used the resulting powders in paint – and some of the warmed pigments matched archaeological samples better than unheated ones, both in color and grain size.
Transport trials, where experimenters carried pigment lumps and powder in leather pouches, bark containers, or hollow bones, helped explain how distant caves could share similar pigment sources. All of this points to painting as part of a broader technological system – extraction, processing, transport – not just a casual pastime.
#13 – Body Painting and Skin as a Testing Ground for Techniques
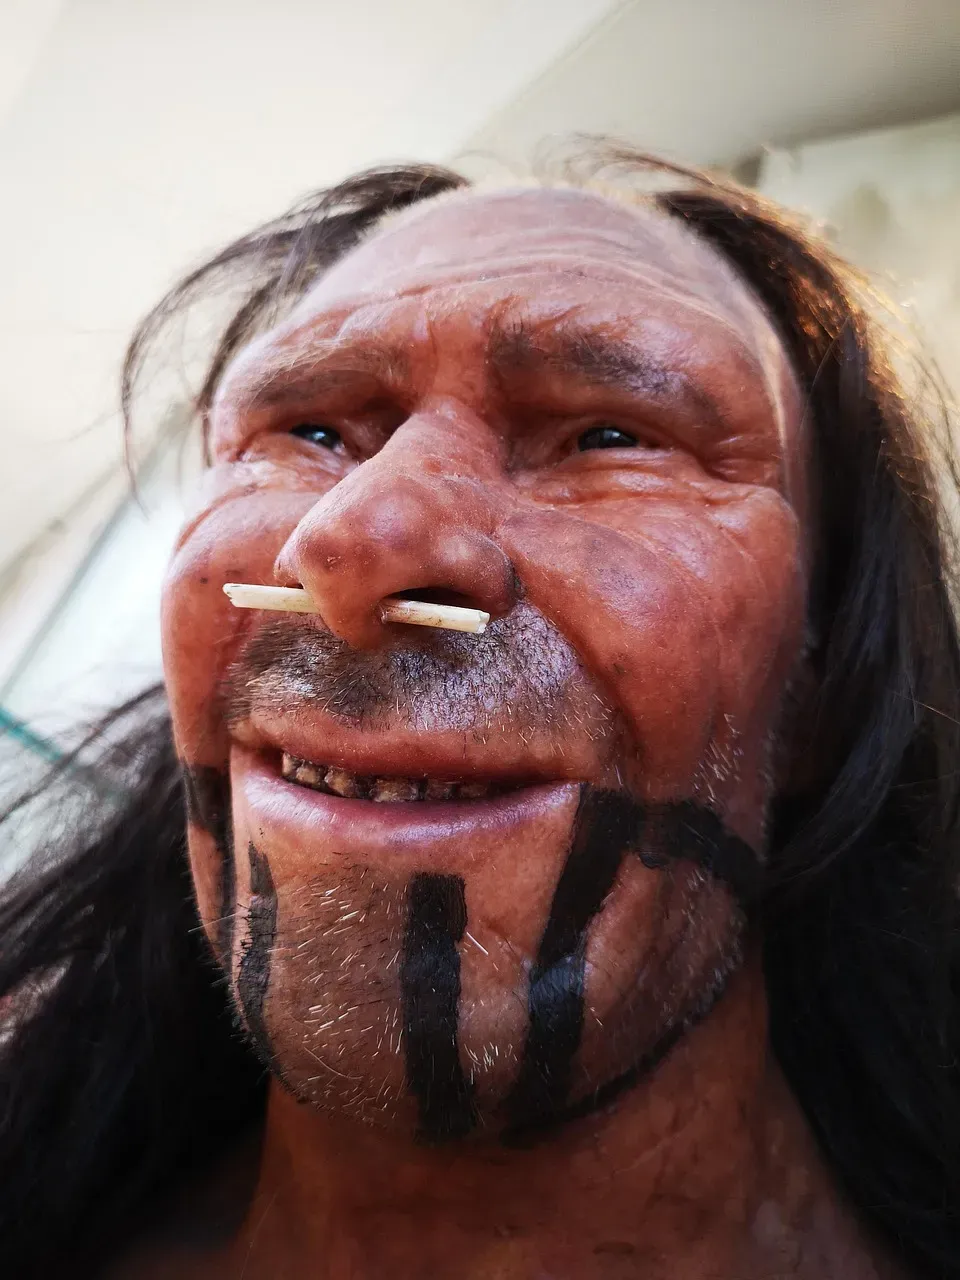
The most controversial experimental work asks a risky question: were some “painting techniques” actually learned on human skin before going onto stone? Ethnographic comparisons from later societies show that body painting often uses similar materials – ochre, charcoal, fat, plant juices – and very similar tools: fingers, pads, simple brushes.
Experimental archaeologists and anthropologists tried replicating prehistoric recipes on human volunteers’ skin, using safe, modern-tested versions of the same minerals and fats. They found that ochre plus animal fat creates long-lasting, flexible body paint that resists cracking, dry charcoal smudges badly while bound charcoal creates sharp dark lines, and layering colors on skin teaches how pigments mix, fade, and stain over time.
Some of the techniques that work beautifully on skin – finger smearing, stippling, outlining with charcoal then filling with ochre – map almost perfectly onto cave wall methods. Several researchers now suspect that people became skilled pigment users first through personal adornment and only later transferred those skills to more permanent surfaces.
Not everyone agrees. Direct evidence for body painting is scarce, mostly staining on burials and worn pigment pieces near skeletons, but the experimental match is hard to ignore. The human body, unlike cave walls, moves, sweats, and flexes – which teaches a painter how to handle cracking, running, and fading, lessons that then make cave murals more durable. If that’s correct, some of humanity’s most iconic “artworks” may actually descend from experiments held on living, breathing canvases.
At a Glance
- Ochre mixed with animal fat created flexible, long-lasting body paint resistant to cracking.
- Dry charcoal smudged easily on skin, while bound charcoal produced sharp, stable lines.
- Skin’s movement and moisture forced painters to solve cracking and fading problems later reused on cave walls.
- Most direct evidence comes from pigment staining near burials rather than preserved skin itself.
The Bottom Line
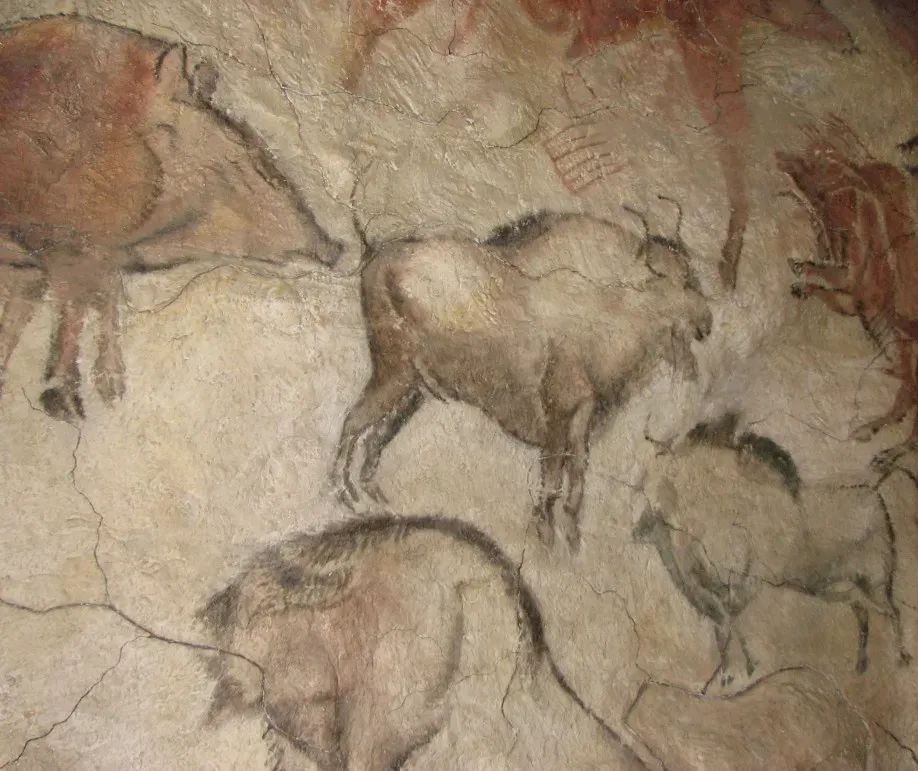
Recreating prehistoric painting techniques has forced archaeologists to admit something many people still resist: these were not clumsy cave doodlers. They were skilled technicians working with complex materials, purpose-built tools, carefully prepared surfaces, and a deep understanding of light, rock, and even chemistry.
From charcoal “crayons” and fat-bound paints to spray techniques, stippling, and relief-based perspective, the experimental evidence shows a level of planning and iteration that looks uncomfortably like us. The most surprising part is how much of this knowledge only appears once someone actually grinds the ochre, lights the torch, and tries to paint in a cramped, smoky alcove. Theory alone was misleading.
My honest take? We still haven’t caught up to how good these artists actually were. Every reconstruction that succeeds should make us a little more humble, not a little more impressed in passing – because the old cartoon of the “primitive caveman artist” isn’t just outdated, it’s backwards. Did we give prehistoric painters too little credit, or are we still not giving them enough? The technique that deserves more attention, honestly, is the one hiding in plain sight: the skin they painted long before they ever touched a wall.